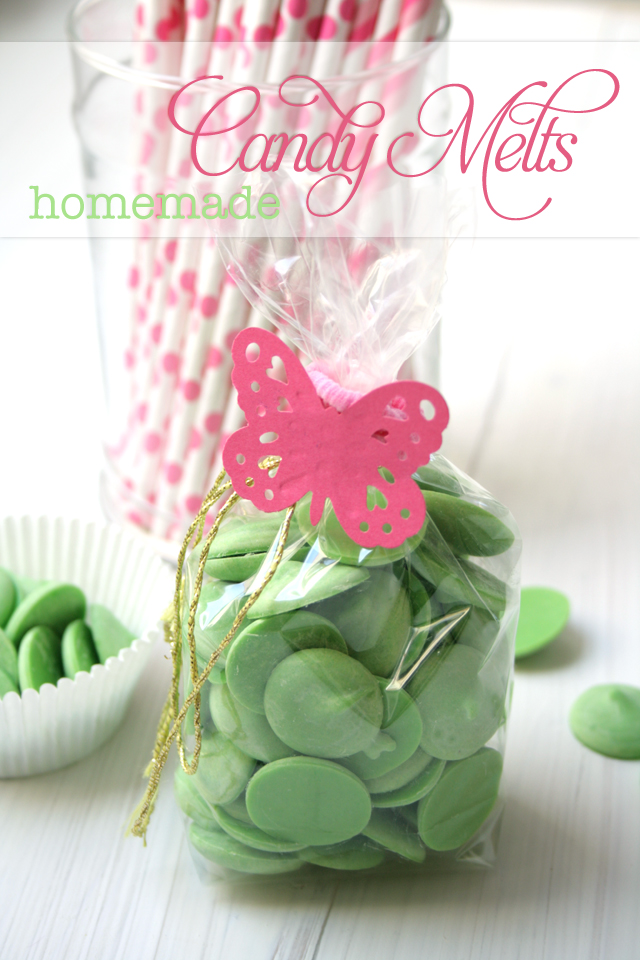
Candy melts are essential when it comes to cookie and cake pop decorating. Here is how you can make your own candy melts to use for cake decorating or as an edible gift.
Until I was 9 years old I grew up in a place where things were not readily available. In East Germany one could not just go to the store to buy stuff. Sure, they had the very basics like milk, butter, bread, apples, cabbage but forget about more “fancy” things like chocolate, coffee, tea, bananas, oranges. Those things meant standing in line for hours, if they were available at all. It was the same with non food items. Around Christmas time my sister’s and my toys kept disappearing and our parents would rework and re-gift them to us on Christmas – I will never forget the joy I felt when I saw the dollhouse my dad made from our old 2 bedroom doll house. He remodeled it into a 2 story mansion with a bathroom, working lights and windows. It is safe to say I have DIY in my DNA. Yes, it’s contagious, watch out!
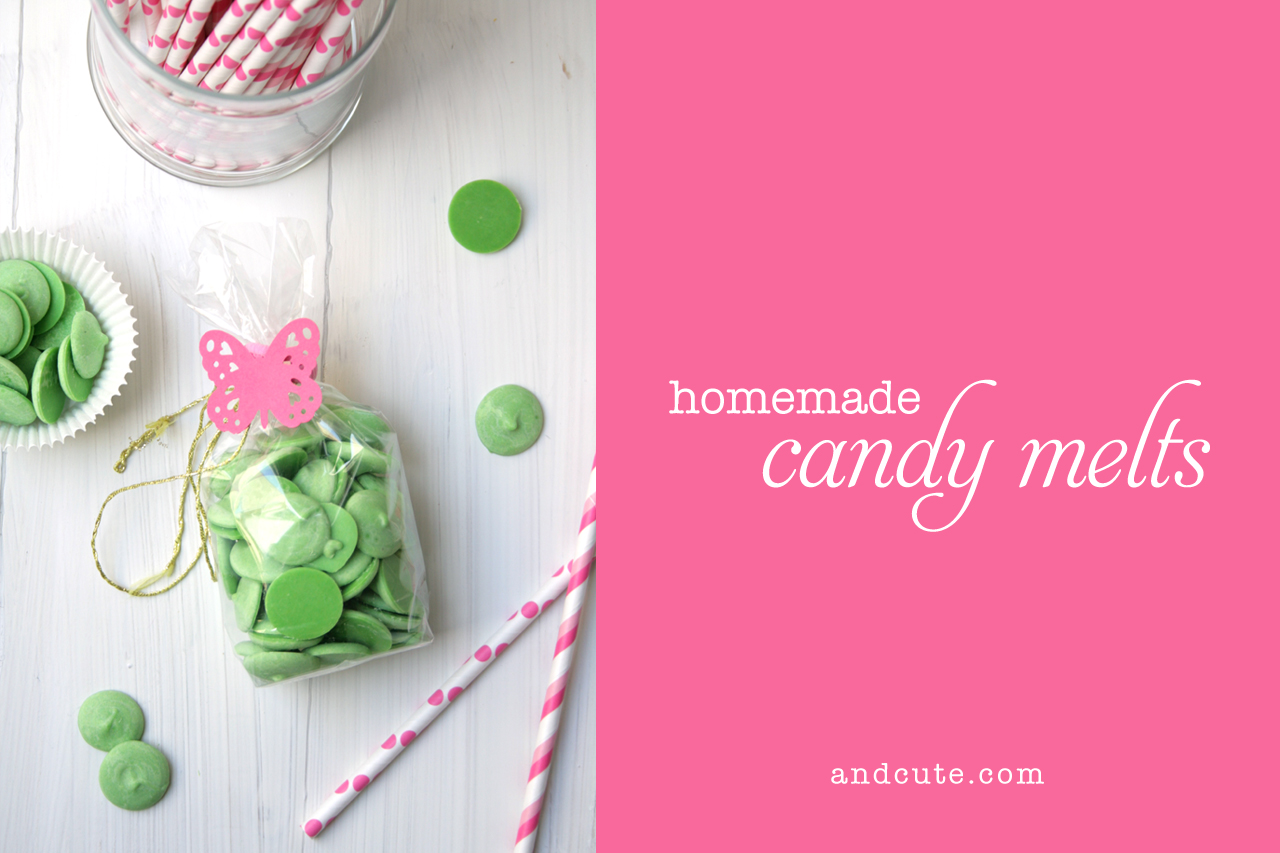
Anyway, sorry for this long excursion, but I wanted to share where my drive for do-it-yourself stems from. This will also explain why I bothered making my own candy melts when I could just order them online. Candy melts are not widely available in Germany. If you want to get them here, you have order from specialty stores and usually there are some hefty shipping costs involved. If I were to just order one bag of candy melts (ca. 370g) I’d end up paying 5 Euro for the candy and about 4 Euro for shipping, 9 Euro a pop. You know I make cake pops way too often to pay that price (yet not often enough to get wholesale discounts – though I dream of it regularly – I have no place to store 10 kg of candy melts – and really I should never be alone with that much chocolate.) So I started tinkering around and made my own candy melts. I have used them for my teal cake pops.
Ingredients
- 200g white chocolate (best quality if you can)
- gel food color (ca. 1/2 tsp. total)
Method
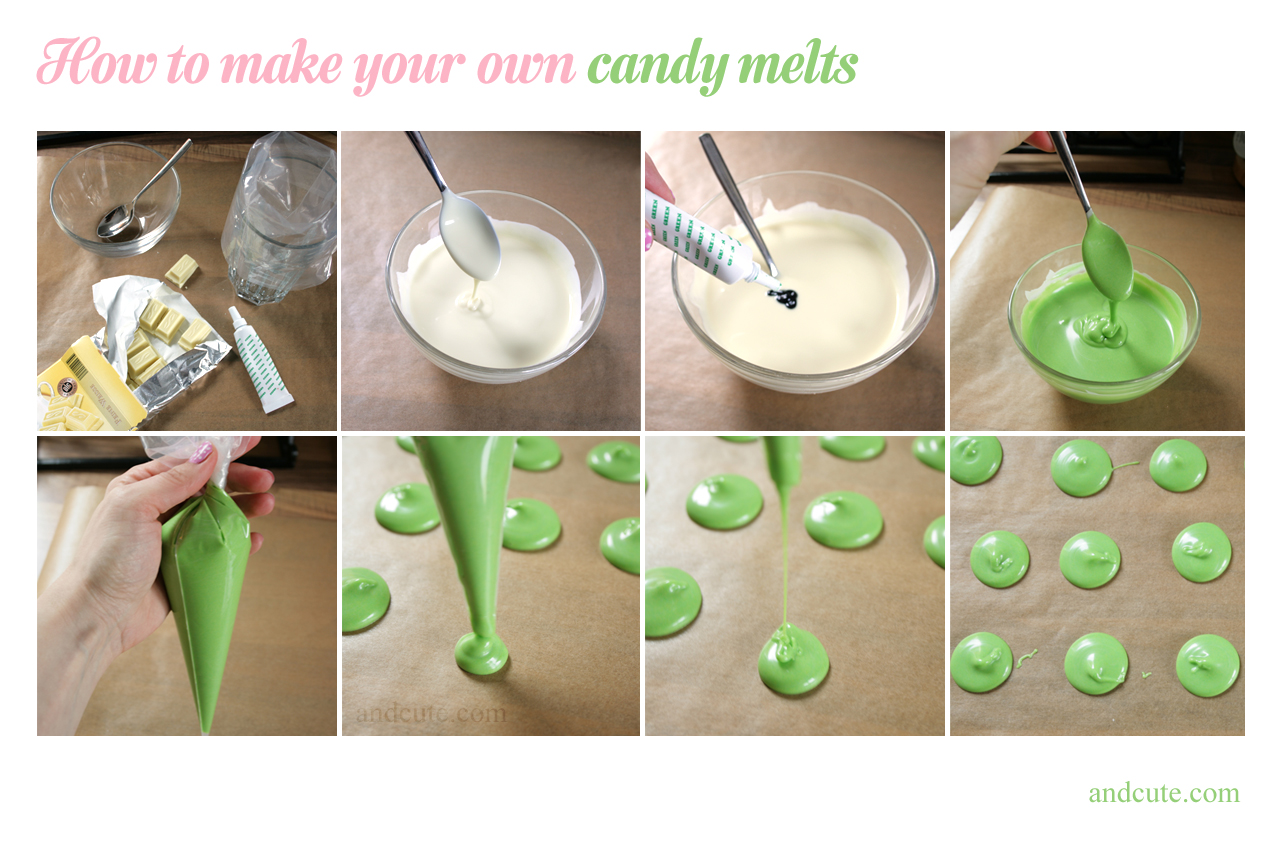
1. Break the chocolate into its pieces. Melt the white chocolate in the microwave (I needed ca. 1 minute for 200 g of broken down white chocolate). Line a cookie sheet with parchment paper.
2. Add food color until you have the desired shade. A note about color: because white chocolate is not white, but really more yellow consider that in your color choices. It is easy to make teal and green tones that already have a hint of yellow in it. I tried purple and it turned out very dark because I needed a lot of food color to get out of the brown phase. Next time I will try to make pink ones.
3. Fill the colored chocolate into a one way piping bag. Once all the chocolate is filled in completely, cut the tip to make a small opening.
4. Start piping little dollops onto the parchment paper.
5. Wait until completely dry before moving them into an air tight container or gift bag.
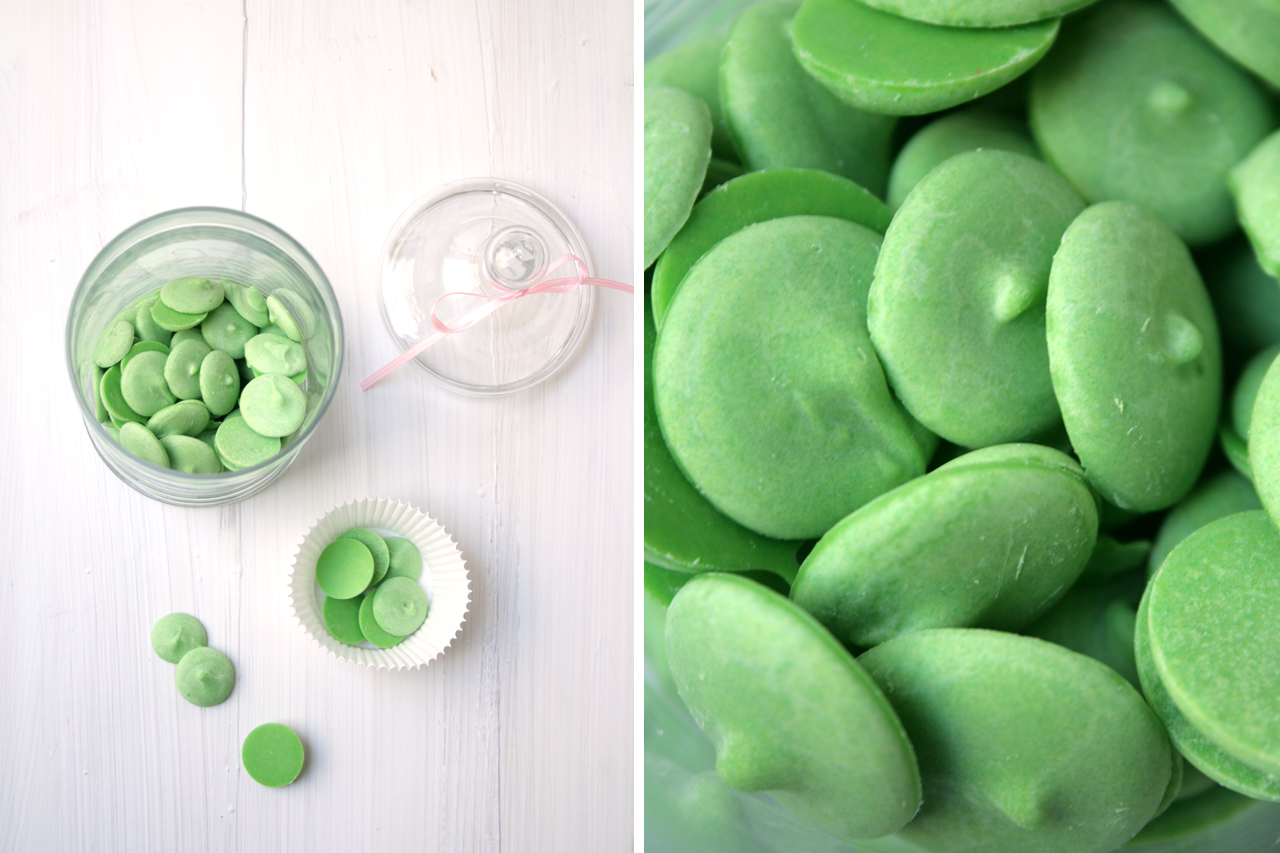
For the total cost of 1,50 Euro for 200g I am very happy with the result. I manually stirred in the food color, so it is not 100% evenly spread out, and the result are some small specks where the color didn’t distribute evenly, but that is minimal in the grand scheme of things 🙂
Ok, now give this a try, maybe make some pink ones and tell me how they turn out. Or stick around and join me at marveling over how pretty they look. 😉
Hugs!
Dani!
